This week I took apart a Cummins B Series 6 cylinder 5.9 L engine. I already had a basic understanding of how an engine worked but taking apart this engine has helped me learn more of the smaller details that should be looked at when disassembling an engine.
When you take apart an engine you need to pay attention to how things come apart, not only for putting it back together but to do a failure analysis. By paying attention to the details of how things look as you take it apart you can recognize problems that may be happening or may occur.
There are specific procedures for taking things apart. Some components must be disassembled in a certain way, for reasons such as timing issues.
With parts that are moving against other parts, such as bearings surfaces, there are different tolerance specifications and they should be measured after they are removed. I learned how to use the measuring tools properly to measure these surfaces.
It is important to have all your parts clean when reassembling an engine since there are such small tolerances for space, even a small piece of dirt can create a lot of problems.

Cummins B Series 6 cylinder 5.9 L Engine from a Boat

Upper Part of Connecting Rod Bearing

Connecting Rod Cap and Bearing

Piston Pin Bearing

Piston Boss

Piston Pin

The broken part of Rocker Pedestal show here is for locating Pedestal on the Cylinder Head.

This is were the Rocker Pedestal sits on the Cylinder Head. Looking on the left side of the hole you can see where it has been damaged.

Looking at the Oil Pump you can see little specks of metal smashed on the side of the gear. I believe that this is from the Rocker Pedestal.
This is the Oil Pump Ring Gear on which I found scratches on the surface due to the specks of metal seen in the previous picture on the gear.
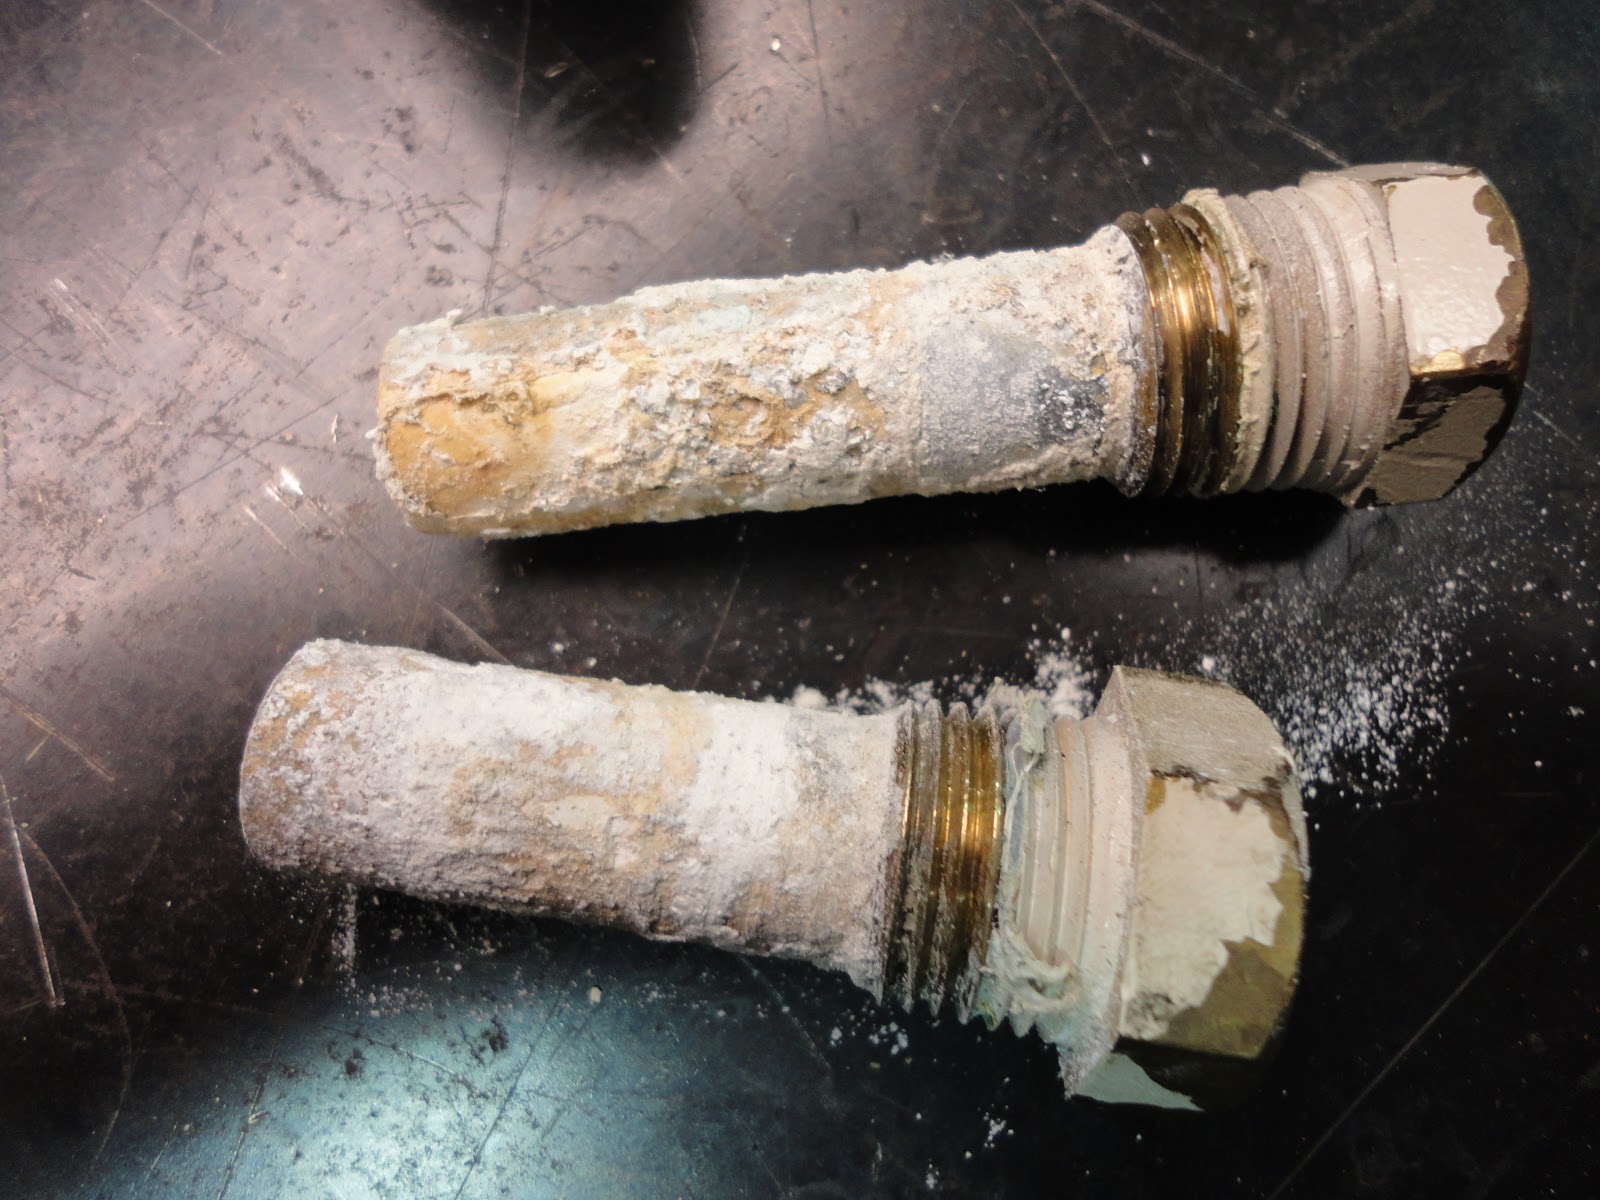
These are Zinc Bolts which are allowed to be sacrificial metal in the water ways of the cooling system to prevent corrosion.

Here I am measuring the Piston Pin with a Micrometer. In order to measure a cylinder shaped object, you must hold the part to be measured against one side of the micrometer and then adjust the micrometer either tighter or looser as you rock it forward and backward, feeling for the tight spots where you know its even on opposite sides.
Wow, what a great post. Well thought out.
ReplyDeleteI have been hanging back and observing a lot the past 2 weeks. I like to let you all discover and learn, while providing instruction as needed.